
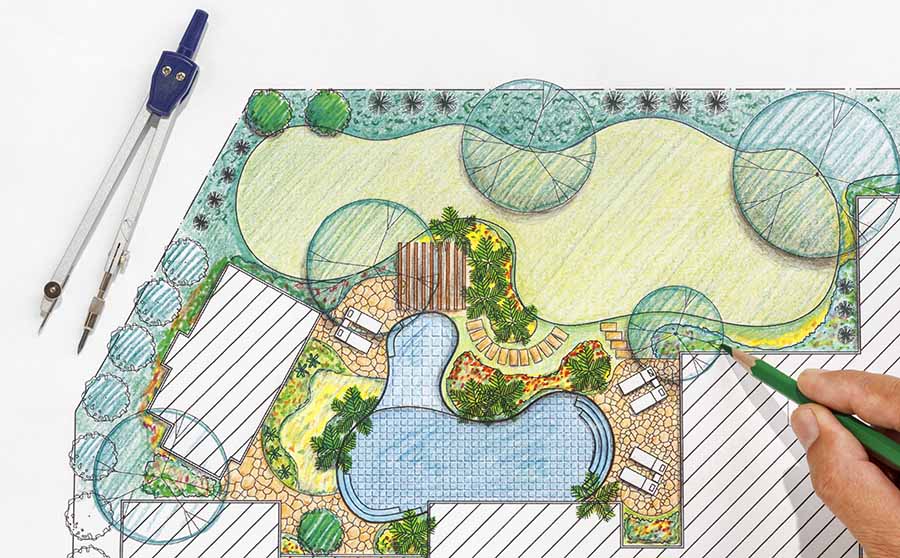
Creating a pond is one of the most exciting parts of setting up a beautiful garden. However, there are many challenges associated with it, including how, when, and where you’ll dig the hole. Many people choose bulldozers, which might seem like an odd option considering excavators are known for their digging capabilities; you’ll be surprised to learn how easy it is!
To dig a pond with a bulldozer, you need to map the land, find the water source, and use the front blade to push out the dirt from the perimeter. Use a backhoe attachment to dig through the soil and create ledges along the way. Use liners, small rocks, and boulders to help with water retention.
Throughout this article, you’ll also learn the following info about how to dig a pond with a bulldozer:
- How you can check the soil and surrounding area for optimal conditions
- The most efficient step-by-step process to dig with a bulldozer
- Tips and tricks to retain water and get the most out of your pond
Map the Land
Knowing the land before you start digging is the most important part of the process. If you start digging without being aware of what’s surrounding the pond, you could be in for some serious trouble.
A few examples of disasters include:
- Digging through sewage pipes and causing a toxic (and smelly) leak throughout the pond. This process costs hundreds to thousands of dollars to repair everything, not to mention that you’ll have to find a new place to dig and refill the hole.
- Breaking gas lines, which can be equally, if not more dangerous, than cracking sewage pipes. Broken gas lines can cause illnesses, fires, atrocious odors, and a lot of extra money added to your gas bill.
- Dense root systems from a nearby tree can be hard to break, though it is not always the end of the digging process. As long as they’re not too densely woven, you should be able to figure out a way around the problem. Nonetheless, it’s worth knowing before you get into it.
As you can see, there are plenty of issues if you start digging in the wrong spot. Mapping the land also includes deciding where you will dig the pond based on local flora and fauna. If you don’t want too many algae, then green it away from plant life.
Find Your Water Source
As noted by Modern Farmer, there are numerous water sources that you could consider. When you’re filling the pond, you can use wells, hoses, or hire professional companies to come out and fill the pond. That being said, you need a way to keep it filled through evaporation and inevitable leakage into the ground soil.
Here’s a list of possible water sources to keep your pond filled throughout the year:
- Rain can be an excellent choice if you live in an area that has a lot of precipitation. Make sure that there’s enough to keep the pond filled. Relying on rain isn’t always an ideal scenario since most places don’t rain enough, but it can be used to top off the pond, so it doesn’t drain too low.
- Another option to keep your pond filled is owning a well. If you have well water, you can plumb it to flow to your pond. Whenever your pond goes below a specified level, the well will drain water into it, keeping it going smoothly. You should get a backflow valve to prevent pond water from flowing into the well.
- Digging in wetlands will undoubtedly keep your pond raised most of the year. Much like rainwater, it’s not a complete solution, but it’ll prevent your pond from draining too quickly. Look for areas of the land that seem to stay damp or muddy throughout the season and dig a bit to see if it’s filled with water.
Inspect the Soil
There are three main types of soil that you’ll encounter when digging a pond:
- Dirt
- Sand
- Clay
You might encounter a plethora of other soil combinations, but for the most part, these are the primary soils. Note that the top layer isn’t indicative of what lies below. You could find three feet of sand on top of several feet of clay, as mentioned by the Texas Bow Hunter community.
Knowing your soil conditions will let you know what type of equipment you’ll need, how the drainage works when the pond is filled, and what you need to lay on the bottom (liners, boulders, clay, etc.).
Rather than renting a bunch of equipment in hopes that you’ll get good soil, consider digging a 4-foot hole in the ground. Four feet tends to be a clear indicator of what lies below the surface, allowing you to check the aforementioned conditions.
If you’re not sure how to inspect the soil, there are dozens of companies that will come out to do it for you. Have them do a core soil check. They’ll dig a tube into the ground, pull it out, and let you know everything that sits underneath the surface.
Get a Backhoe Attachment for the Bulldozer
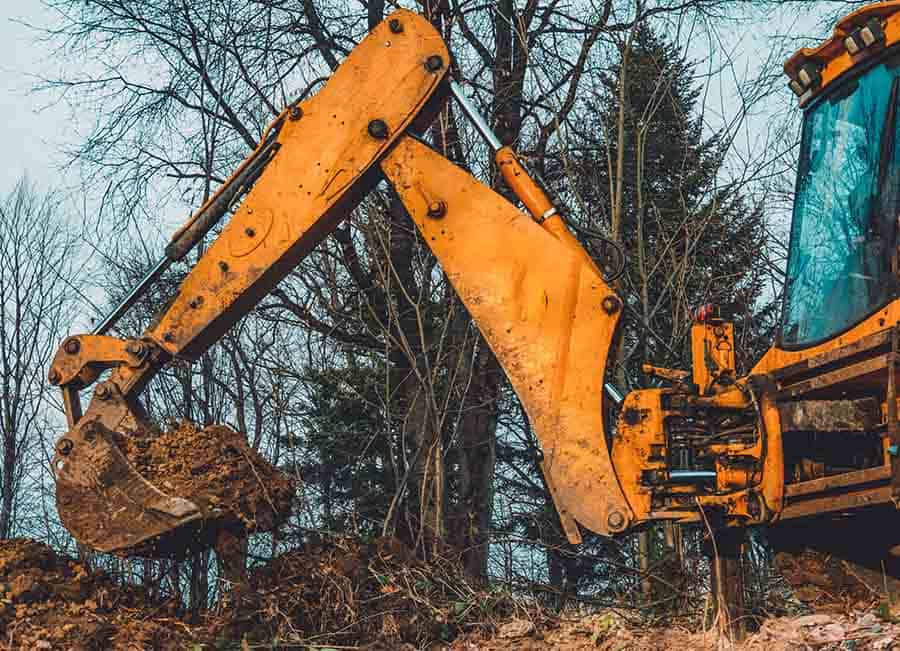
Backhoes are some of the most useful attachments for digging with a bulldozer. They’re not too expensive compared to getting a brand-new excavator, which would be the only alternative. Check all of the available sizes and determine which one will be the best fit for your bulldozer.
Getting a backhoe will allow you to scoop out large buckets of soil, shedding hours off of the workload. This step is technically optional since you can dig a pond with the primary bulldozer attachment. That being said, you’ll end up going back and forth for weeks before you get to the optimal depth for a pond.
Note: If you’re not comfortable with digging using a backhoe, then hire a professional to get it done. They’ll be able to survey the land and follow this process without causing any damage. If you try to get it done without any experience with a backhoe, you could ruin the bulldozer, costing yourself thousands of dollars in repairs.
Push Out the Perimeter With the Blade
Before you use the backhoe to dig everything out of the soil, push the perimeter with the blade on the front of the bulldozer. Make sure that you have an outline of the size that you want the pond to be. Once you’ve lined everything, it’s time to push it out and get the general shape of the pond created.
When you’re using the blade, it’s essential that you go back and forth. One overlap won’t be enough for an effective outline. For more information on how you can get your pond started with a bulldozer, follow this helpful video tutorial by LetsDig18 on YouTube.
The video covers loads of helpful info about the right methods to get the job done in a timely manner. Bulldozing the perimeter will take quite a few hours or days, but it’s more than worth it to get your pond set up as it should. Once it’s prepared for the backhoe, proceed to the next section.
Note: The size of the blade on your bulldozer will determine how quickly you can get it done, but make sure you’re not trying to rush through it. The last thing you want is to botch the perimeter and mess up the whole operation.
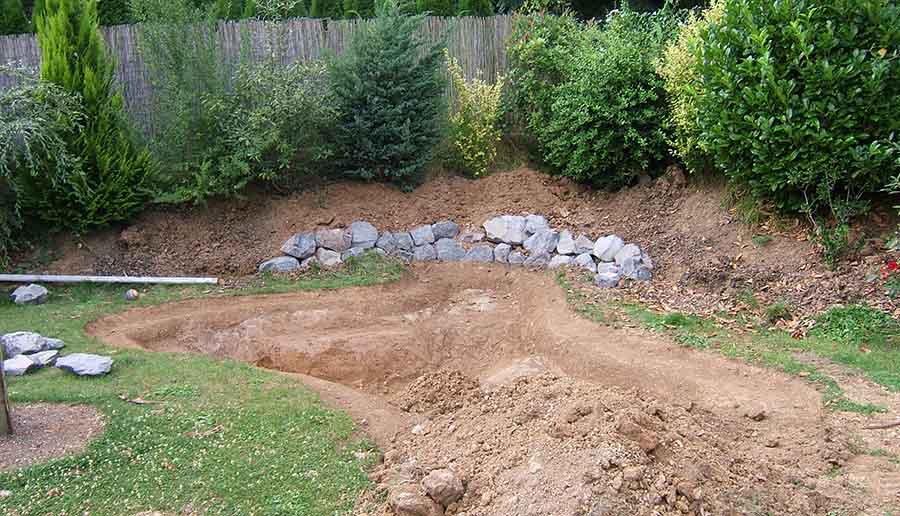
Dig the Center Depth
Now that the perimeter is outlined with the blade of the bulldozer, it’s time to start digging with the backhoe. This step is the longest part of the process, but it’s also one of the most influential components. Set aside a few days to get it done, depending on how wide, long, and deep you want the pond.
You should start digging in the center of the pond since it’s typically the deepest part. Once you have the lowest point dug, move outward in circles. It should look like a bowl as you move to the outer portions of the pond. Don’t be afraid to dig down a few feet, move back, and repeat the process. Head back to the center and do it again until you reach the desired depth.
One of the best tips for digging a pond with a bulldozer is to always work moving backward. If you move forward, you’ll end up falling into a ditch. Furthermore, moving backward allows you to get a clear few of everything you’ve already removed.
The only time this rule doesn’t apply is when you’re using the bladed attachment from the previous step. In that case, move forward to push out the soil. Heavy Equipment Forums shows that you can use the blade to dig out the pond’s core, though you’ll need it to be much wider than a backhoe.
Create Shelves on the Sides of the Pond
Digging shelves into the side of your pond is an excellent method to maintain the structure. Much like a few of the upcoming steps, this one isn’t necessary, but it can help tremendously. Note that it’s a requirement for people who are digging a pond out of sandy soil since it tends to cave in otherwise.
To make a shelf, you can use a backhoe, the bulldozer’s front blade, or scoop it out by hand with a shovel. Try to make the shelves as square as possible, though a bit of rounding is natural and expected. Some people prefer to round the shelves for a natural look, though it doesn’t provide as much structural support.
If you choose not to make shelves in your pond, you need to have either a deep drop or a long, smooth, shallow angle. Digging a deep drop into a pond could mean that the pond’s edge is about four or more feet deep rather than a foot or so. A shallow angle works like a beach, slowly moving into the depths of the center.
If you want to make your pond start at one foot and drop randomly to mimic the appearance of a lake, then you should expect some shifting as it settles under the weight of the water. You won’t be able to sculpt the perfect pond without trenches, but it’s still a wonderful, welcome appearance for many owners.
Consider Laying Rocks and Boulders
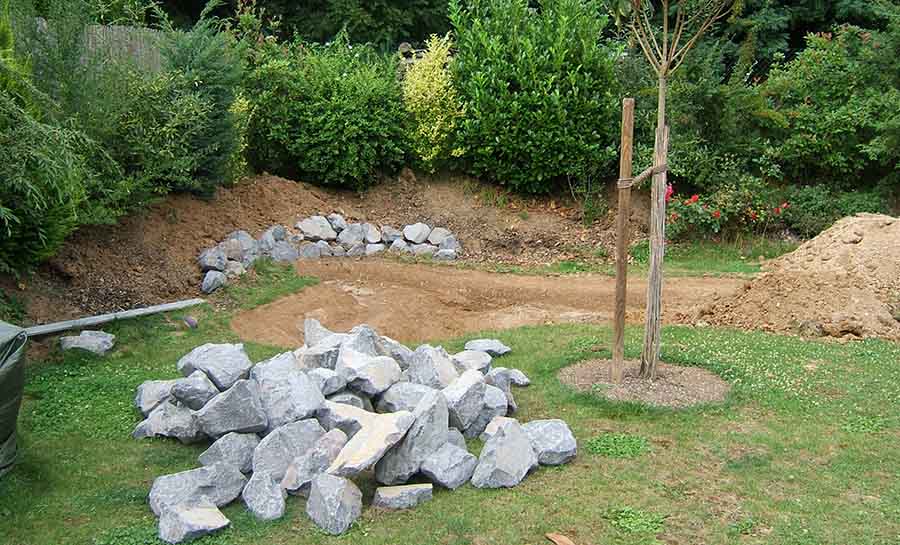
Rocks and boulders are two of the top choices for pond building companies. They’re great for the natural aesthetic; allows your pond to look like lakes, rivers, and other local bodies of water. If you do some research, you’ll be able to find out which kind of rocks can be found nearby to load up your pond.
The primary purpose of using rocks and boulders in a pond isn’t for the appearance, though. They help with soil drainage, keeping your pond filled with water throughout the year. If you don’t use them, you’ll likely have to refill the pond more often. Since rocks are virtually impenetrable by still water (unless you wait millions of years), the pond will stay filled.
Before you start throwing rocks and boulders around the pond, follow these three suggestions:
- Make sure you’re aware of the fish and plants going into the pond. If they’re not compatible with the type of rocks you choose (improper filtration, toxic algae growth, etc.), you might want to think about getting a different type of rock.
- The proper placement is a key component for boulders and rocks in your pond. Many builders prefer to place the boulders along the bottom of the pond and the small rocks on the edges or shelves to keep the water from spilling over.
- Inspect everything that goes into your pond for algae and sharp edges. Sharpness has its obvious problems, but did you know that introducing certain types of algae can make your pond dangerous for all other forms of life? Blue-green algae can cause numerous illnesses.
Use a Liner (Optional)
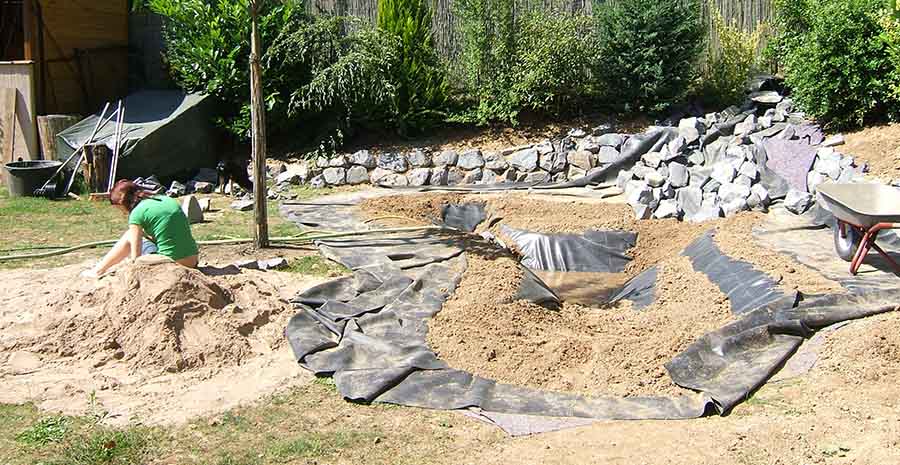
Liners are optional, but they’re more effective than any other method to prevent the water from draining into the soil. If you want to keep more water in the pond, then a rubber liner can work wonders. Keep in mind that you can’t stop evaporation with a liner, so you’ll still have to fill the pond occasionally.
Another thing to mention about rubber liners is that a lot of them are prone to getting slimy. As algae build up and fish and plants start to excrete substances, your liner will feel a bit gross. Make sure you vacuum or brush the bottom regularly to keep it from getting too bad.
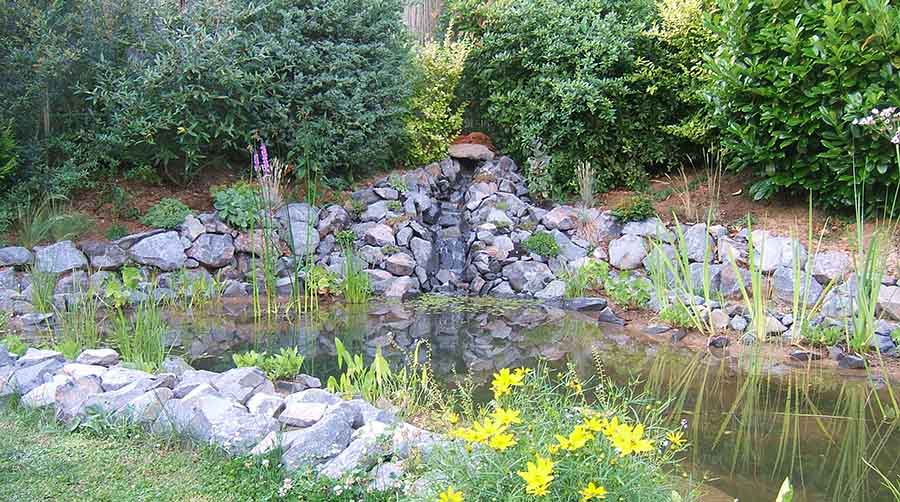
Choose Plants and Fish (Optional)
When everything’s ready to go, it’s time to decide whether or not you want to introduce plant life and fish into the pond. Most people want one or both of flora and fauna, so now’s the time to get it done.
Always choose plants and animals that naturally occur in the environment. If you’re finding yourself having to import them from out of state, then there’s a high chance that you’re bringing in foreign life. Not only is this choice dangerous for the fish and plants, but it can be bad for the ecosystem.
Fill the Pond With Water
Choose how you’re going to fill the pond, then start loading it up with water. You can use well water, hose water, and plenty of other sources. Mother Earth News mentions that some counties allow you to use local fire hydrants for a quick water source, but you should always call the fire department ahead of time.
When you’re filling the pond, make sure the rocks and boulders don’t move around too much. They need to settle on the bottom for maximum effectiveness. A bit of movement is expected, but they should end up near where they started.
Treat the Water Regularly
Even though ponds are supposed to get a bit dirty, you need to do your best to keep the water clean. Cleanliness does not mean that the water should be crystal-clear (though many owners like to keep it that way); it simply means that you do not let the algae cake or structure fall apart.
You can find pond treatment kits or companies that will deal with everything for you. Whatever you do, remember the time and effort you put into the pond to motivate you away from letting the pond get dirty.
Conclusion
Digging a pond with a bulldozer is an easy but time-consuming task that many landowners have pushed through. There’s no doubt that it is one of the most rewarding processes you’ll go through on your land, especially if you add fish and plants to the ecosystem. Promoting new forms of life on your land is helpful to the environment and aesthetically pleasing for visitors.
Remember that you can use a bulldozer’s blade to dig a pond, but it’s much more efficient to attach a backhoe and dig out the soil. Map the land, inspect the soil, get your bulldozer ready, and start digging!