
It is possible to use a pitchfork to aerate your lawn. Aeration is a method used to give lawns the nutrients they need. Having a nice, lush, vibrant lawn is not some far away reality seen only in movies. It’s possible to keep up with your own lawn through some simple maintenance measures.
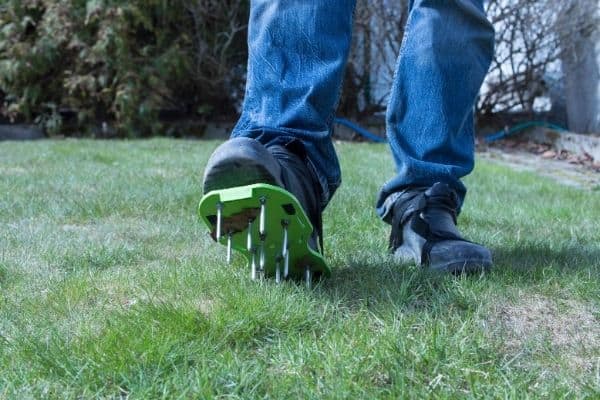
Pitchforks are a form of a spike aerator. If you have a small, garden-sized yard, this could be an inexpensive and quick solution to aerate your yard. To be effective, sink your pitchfork into your grass three to four inches deep and strive to keep the holes about four to six inches apart.
Fulfill your own lawn care fantasies and never dread hosting a neighborhood barbeque again! Read more to see exactly how to have the green lawn of your dreams!
Steps to Take Toward Effective Aeration
Effective aerating techniques involve more than just poking holes in your yard. This next section will discuss what steps you can take toward a beautiful, lush, green lawn.
Mow the Lawn

The first step, before you do anything in this process, is to mow your lawn.
Make sure to trim it as short as you can – perhaps a bit shorter than usual. This is a critical step because it prevents the grass (or anything lingering in the grass) from getting in the way of the rest of your equipment.
Once you mow, rake up all the grass clippings if your mower doesn’t catch the clippings for you. Regardless of the mower type you have, at least do a once over to grab any grass chunks that managed to pop out. You can put these in a trash bag, a bin with wheels, or a wheelbarrow – depending on your lawn size.
You can compost or dispose of the clippings, but if you’re an avid gardener – composting it is the best way to go. Then, a little while after completing the aeration process (and when the grass turns to proper compost), you can add that to your grass. It will keep moisture in, especially if the weather’s hot. Just make sure not to add too much!
Poke Holes in the Lawn with Your Pitchfork
Once your grass is mowed and raked, you’re almost ready to begin! Before taking hold of your pitchfork, dampen, not soak, the ground. Doing this will make your next step easier.
Grab your pitchfork and make sure you hold it with the tines in a perpendicular orientation to the lawn. Typically, it’s best to start in a corner for easy tracking of what you’ve covered. You could even use a marker (any random object will do) to track where you have covered. This is best if the lawn you’re tending is on the larger size and perhaps requires a few breaks.
If you do place a marker, make sure to not place it directly on the lawn (if possible). If you put it directly on the grass, it could leave a dent. After too long, the grass could turn yellow and become patchy, or even struggle to grow back! So, you could use a thin, metal stick that would simply leave a hole in the dirt without damaging the grass.
When pushing the tines of the pitchfork into the grass, push them straight in (no angle is necessary). Push the tines to their full length of the pitchfork. The reason for this depth is to get to the root zone, as that will be the most effective method. It might be tempting to quickly push it in and pull it back out but take time to ensure the depth will be worthwhile.
Move Forward with Your Pitchfork and Repeat
After each insertion, move forward 4 to 6 inches and reinsert. These holes should be made in a row. When moving down after a whole row across, keep the markers in mind. Even if you don’t have a marker, at least look for pre-existing holes. Then, continue until your whole lawn is covered!
Water the Lawn Immediately
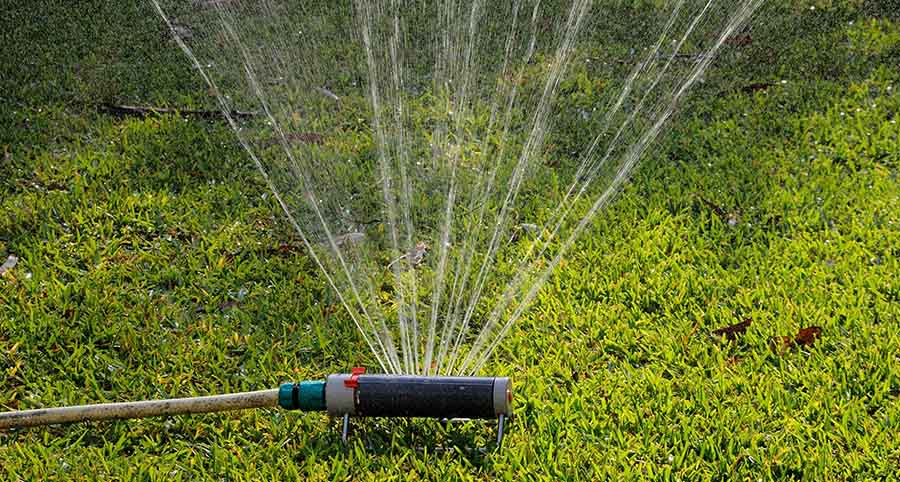
Once you poke the holes, you still aren’t quite done. Make sure to water the lawn immediately after you’ve completed the entire lawn. This allows water to go through to the root zone of the grass – the most necessary part for nutrients. The grass blades above the soil are aftereffects of the care you show the roots. Additionally, watering, and frequent mowing will minimize the appearance of holes in the lawn.
Consider Which Method is Best for You
Also note that there are three main methods: core aeration, spiking, and slicing. Core aeration uses the equipment that takes a “chunk” out of the soil. This is the best method, as it allows the most water, nutrients, and space to get to the roots. Short-term it looks a little messy with the holes in the soil and the chunks sitting on the grass, so be mindful not to do this the day before a garden party!
Then, there is also spiking and slicing. These methods compress and move the soil instead of removing chunks of it. Spiking can be done with a pitchfork, but it’s rather labor intensive. Slicing is done with the spike aerator that can be used manually or attached to a riding lawnmower.
More About the Equipment
Before acquiring any equipment, consider whether you’d like to purchase or rent it. Also keep in mind the type of equipment that’s available before analyzing the cost.
If it’s for personal, occasional use, renting may be the more cost effective option. However, large scale jobs may require purchasing these items instead. Just keep in mind, renting costs can rack up and end up more expensive than if you paid someone to do it.
Types of Tools
Plug (or Core) Aerators
If you have a larger lawn, you can use something called a plug aerator. These can be found at your local Lowe’s or Home Depot. The way it works is that you can either push it along or attach it to the back of your mower. It rotates spikes into the ground, which then pull dirt from the soil. This is best for when you have a riding mower, as a push mower wouldn’t allow you to push it with this attached.
If you like to order online or don’t have a Lowe’s or Home Depot close by, you can get a great Craftsman Aerator here on Amazon. And that’s how it looks like in action:
Keep in mind, there will be little soil plugs from when it’s pulled to make the holes. You don’t need to rake these or pick them up, you can just leave them as the rain will eventually mix them back in.
It may seem unsightly to have these plugs, but after watering the lawn or a little rain, they should go away. Removing these plugs each time you aerate will thin out your soil and make for uneven ground that slowly depletes over time.
Spike Aerators
If you have a more modest lawn (less than half an acre), you could instead use the spike aeration method. You could use a pitchfork or something that’s essentially a pitchfork but makes the work slightly easier: a spike aerator (also available at Amazon here). The primary difference (besides labor intensity) is that spike aeration doesn’t pull the soil out, it simply makes holes.
Should You Purchase or Rent?
Purchase
For smaller lawns, a core aerator is likely the best decision. These are rather inexpensive and usually aren’t even found for rent. They usually run about $30 at most for those that work like a push mower. If you purchase one that attaches to a lawn mower, expect to pay about $200.
Renting
Core aerators cost about $90 per day and $60 for four hours at your local chain hardware store. Other costs on top of that include a deposit cost and transportation. The deposit is usually refunded, assuming you take good care of it and return it on time. Therefore, this factor can usually be taken out of expenses.
However, the cost of transporting could add a bit on top. Assuming you don’t have your own, you may need to rent a trailer to carry the aerator. They usually cost $15 to $25 per day, depending where you live and the company you use. You may also want to get some help for loading and unloading, regardless of whether you use a rental or your personal trailer.
Why Aeration is Important for a Healthy Lawn
Essentially, the holes created by aeration allow air, moisture, and nutrients to be able to reach the roots at a better rate than normal. This helps root growth, as there’s more space for roots to grow out, and also makes them thicker and stronger. It’s important to “stir” or aerate the soil, as compact soil pushes on the roots and prevents growth.
Aeration also breaks down thatch, a layer of buildup that accumulates over dirt but under grass. It can interfere with roots as well. Also, if the thatch is thicker than about an inch, it creates insect problems and the grass can suffer from disease, such as fungus. You can have a low thatch variety of grass, but even these need a little aeration from time to time.
However, there is also a process called dethatching, which is different from aerating.
While aerating does help decrease the amount of thatch, dethatching is the most effective method. This method is good for any time during the year, especially prior to aeration. Just make sure not to do it more than necessary, as it can take a toll on your lawn.
Compacted soil needs movement, especially soil in hot or dry environments. Without it, grasses lose their rich color and healthy texture. It will slowly thin, then simply die out.
The movement provides necessary oxygen. On top of the increased oxygenation, water, and nutrients it receives from just one aeration, it also provides earthworms more room and mobility to properly serve their purpose.
Tips for Effective Aeration
Water Your Lawn
On top of mowing, raking, and removing debris from the lawn, it’s very important to make your soil moist. To do this, simply water the lawn a few days before you start. If you’re attaching your aerator to a riding mower, water before mowing. However, if you’re doing it manually, mow, then water, then aerate. When using a smaller scale push mower, it’s better (and easier) to mow when the grass isn’t wet.
Before you aerate, test the moisture level of the soil with a trowel. Just like with baking, sticking something in the material is a great litmus test for if it’s ready or not. If the soil sticks to the trowel when you take it out, the soil is too wet for aeration.
Make Two Passes
Another thing to try is making two passes to maximize the effectiveness. You could go vertically and horizontally. This method is best if your lawn is square or rectangular. If you have a slightly irregular lawn, try going North to South first, then East to West if you have multiple shapes to configure.
When to Aerate
Times of Year
The best time to aerate your grass depends on a few factors. It’s best to do so during the growing season, as the grass will repair faster. This is usually during the spring or fall before the temperatures shift and get too extreme. Try to allow four weeks before these extreme temperatures start either towards winter or summer.
It also depends on what type of grass you have. If you have “cool season” grass, it’s best to aerate during the fall. This is because the grass doesn’t do well with heat, and it also prevents weed growth.
For “warm season grass”, aerate during the spring. They do better with warmer temperatures and can die out in colder ones if they lack the protection from the soil.
Other Factors
Typically, anywhere from three to five years is a good amount of time to aerate your lawn. That’s assuming you don’t have a lot of compacting and is based on your lawn’s average soil type. If your grass gets a lot of compacting, aim for every one or two years. If heavy clay based soil is common in your location, go for every year at minimum.
It’s important to factor in how much traffic your lawn gets. The traffic it gets determines how compacted the dirt will be.
Compacting is what happens when dirt gets squished together, meaning the roots have less room and air to grow. The more compacting the dirt (or in this case, your lawn) gets, the more often you need to aerate it. Maybe you park your car or put your outdoor furniture on the grass, or perhaps your kids or pets like to play in the yard.
It’s also possible you have problems with your soil compacting too much. You can see this through stressed looking grass, hard soil, or excessive puddles. To see if this is a problem you have, you can perform a “screwdriver test”. All you have to do is put a screwdriver in the dirt of your lawn and if it doesn’t go in easily, it’s likely compacted.
Also keep in mind that when thatch is more than 1/2 inch thick, it contributes to compacting as well. Additionally, the type of grass you have may also contribute to more thatch.
If you plant with grass that has an aggressive spread, it will accelerate the amount of thatch you get as well. Aeration can be a good primer for dethatching, while also reducing and removing some of it in the process.
Aftercare
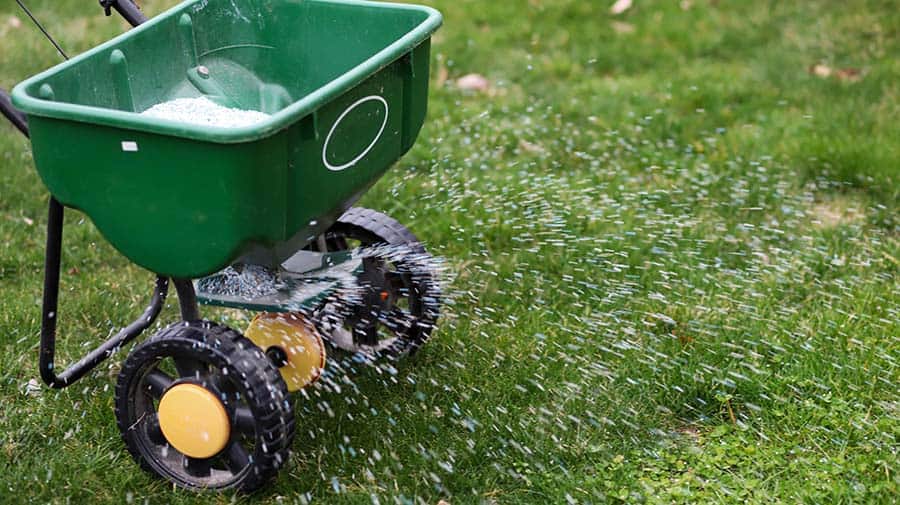
It is also beneficial to seed after aeration. This will allow the seeds to go in the holes and have a better chance of taking root. This will make your lawn more dense and healthy. It will also help to alleviate any patchiness in your yard.
Once this process is completed entirely, make sure to keep up with routine maintenance. Keep up with aeration based on the factors previously considered. Then, couple this with occasional compaction tests to assess changes to your aeration routine. Remember that it’s good to have a general routine, but overall, aeration should mostly be need-based.
ROI
Would it be more cost effective to do it yourself or to outsource your labor? Well, some math may be involved to determine the answer to this question. There are multiple factors besides the sheer cost of either doing it yourself or having someone else do it. Factor in initial investments, materials already owned, and personal preferences.
If you want to perform your annual lawn maintenance yourself, factor in if you already have an aerator (you could use a pitchfork if you’d like). As previously mentioned, formal aerators are usually around $200 for mechanized ones and about $40 for the average, sturdy pitchfork.
Next, factor in if you rent or buy the equipment. Consider rental costs and the cost transporting the equipment. If you choose to purchase your equipment, consider whether or not you need a storage unit or if you’ll store it in the home.
It could take you all day to aerate your first lawn if you’re inexperienced. After all, professional lawn care takers do this kind of thing for a living! It usually takes about 30 minutes for a lawn care company to do the same.
With a lack of experience also comes less knowledge, and if you don’t do it properly, you could waste a lot of time and money.
Additionally, consider any damages to equipment or add-ons, such as fuel for your lawn mower, if you need maintenance on your aerator, and any sort of lawn care. A flat fee to a business may be easier to track than breaking down and dividing expenses to determine to cost per time.
Lastly, consider how often you need to do it. Would a one-time fee be cheaper and more convenient than gathering and buying everything for a treatment every couple of years? Or, if you have high foot traffic and perform your own regular lawn maintenance, perhaps it would be better to do by yourself.
The Pitchfork Fixes for Dead Spots
We’ve discussed the importance of making sure you aerate your lawn between every year to once every three years based on your yard’s composition. I’ve also shown you the steps you need to take to effectively complete the aeration process.
One final thing to consider is that if you have a patch of lawn that needs care, you can use your pitchfork to aerate that small area and reseed to repair that patch. Especially if the entire yard doesn’t need to be aerated at the time.