
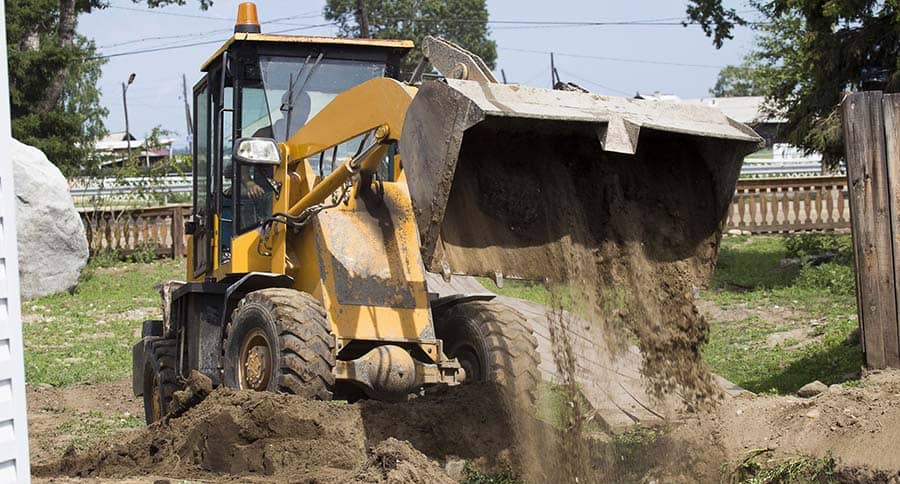
Backfilling soil after removing a pond or to cover new piping can be as easy as it seems. Factors like weather and soil will impact your ability to backfill quickly. Some scenarios will help you along, and some will make for a slow process, like if it is raining.
While backfilling in the rain can moisten the soil to help with compaction, it’s not a good idea to backfill if the rain is heavy. Hard rain will put your safety at risk and make for a muddy mess. Backfilling a small project like a pond or small trench can be accomplished in light rain.
Don’t let a light rain stop you from getting your weekend project done. Learn what you need to backfill quickly, and how the rain can aid in compacting the soil.
Filling in a Pond or Trench
The process of backfilling is simple. It’s the process of using soil to fill in the hole. Where backfilling can get complicated is when the soil doesn’t compact well, or it’s too hot or too wet to compact the soil.
All you will need to backfill are:
- Good compacting soil
- Large rocks
- Water (rainwater is fine)
- Rake
The combination of the filling materials is up to you. What’s important is to fill it with soil that compacts easily and is sturdy enough to support future use. If your backfill isn’t strong, then the ground will continue to compact over time and sink.
Remove Old Materials
A pond you no longer wish to keep will have silt, plants, gravel, and a liner. You will need to remove these before continuing. It’s not recommended leaving the liner in the ground. The good news is, you can reuse the gravel and large rocks to backfill the hole.
Layer the Backfill
Large Rocks
A good way to fill up the hole faster is to lay down a layer of large rocks (find out how to get rocks for free) first. The rocks give good support for the topsoil and take up a good chunk of space.
You can find large rocks from the hardware or soil store in the form of river rock. If the pond you are removing had large rocks in or around the walls, use them to backfill. Reusing as much material from the pond as possible will save you some money and time.
Sand and Gravel
Which of these two mediums you use next will depend on what you plan to do with the space. Options include a paved patio, grass, or garden.
If you plan to install plants, whether its grass or an herb garden, sand will be the better choice. You want plants to have a good medium to root into, and a soil that will hold some water.
An all rock support will drain water. Fill in your sand up to 6 inches (15.24 cm) below the surface of the hole and fill the rest of the space in with good quality topsoil to help the plants grow.
Gravel will be a good medium if you are going to install a paver or brick patio over the former pond. The idea behind this is to prevent the ground from sinking further over time. The stronger the support, the less the pavers will sink. Fill in gravel up to 2 inches (5 cm) below the level surface and use sand to bring the backfill level to the ground.
Note: After each layer, you will want to compact the ground as much as possible to prevent sinking. You can use a tamper, your feet, or the rain. Read on compacting in the rain below.
Here is a great video from Sorenson Designs on backfilling a small pond:
Filling in a Trench
To backfill a trench after replacing or removing pipes is easy. It’s more important when backfilling a trench with piping to use the right materials. You need a material that will compact well, but not apply pressure to the pipes.
The suggested mediums to backfill a trench is a mixture of soil or sand and fine gravel. The types of soil you use is important; read below for the right soil for backfilling. If you aren’t sure about the soil, use sand. Sand is lightweight and easy to compact.
Fill in the trench with your mixture, compact, and top off with a bit of the original soil until level.
Using the Right Soil
Original Soil
Backfilling a pond or small trench can be easily accomplished if you still have the original soil. For a pond, this isn’t likely, but re-filling a trench you dug can be done with the original soil. You might find the soil doesn’t actually fill the hole completely. Mixing it with gravel, shale, or another small rock will help fill the hole and give structure.
If the original soil has a high clay content, consider backfilling the hole with a different material. Clay holds water and is hard to dry out. It doesn’t compact well by itself.
Good Materials
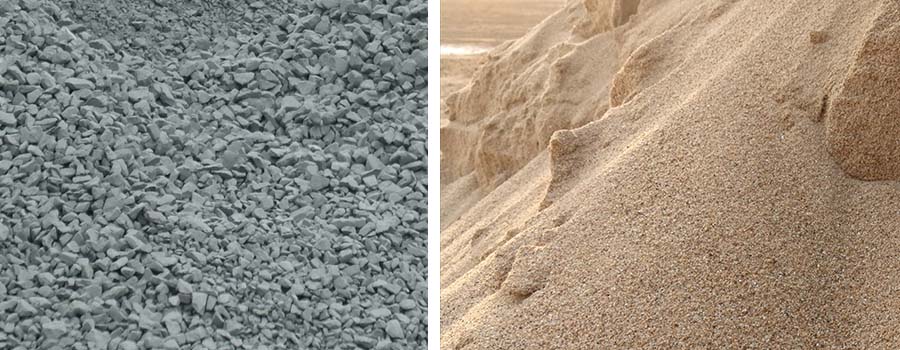
Sand
As stated above, sand is great for backfilling because it’s lightweight and holds water well. It’s easy to compact, and won’t put pressure on any pipes in the ground. Sand is also cheap and easy to spread around.
Rock
Different varieties of small gravel are great for backfilling because many natural soils are a mix of rock and dirt. Gravel can be more expensive, but you can save money by mixing in gravel with the other two material options. Using this medium is great for adding support to the hole and is great for drainage.
The most recommended types of rock to use in backfilling are:
- Limestone Screenings or FA5. A great material for small trenches with pipes and sewer lines.
- Trench Back-Fill (TBF). Made up of smaller rock pieces and provides good drainage.
- Bedding Stone or CA7. Limestone in either 3/4 inch or 1inch, and the most popular choice.
- Subbase Granular Backfill or CA6/CM06/Grade 8. Gravel is often used in road projects.
- 3 Inch Stone. Large stone to help fill a larger hole. Should be paired with CA6.
Top Soil
A soil mixture is good for finishing off the backfill to make the whole level. It shouldn’t be used as the main material, as it’s prone to erosion. Topsoil contains organic matter, minerals, and water. It’s great for planting a garden in, and a good last layer to fill up a hole to allow you to lay grass or flowers.
Using Rain to Compact
Rain, while backfilling, isn’t a bad thing until you are ready to compact the rock and soil. To compact the soil, you will need the material to be slightly wet. Think about building structures with wet sand versus dry sand. Wet sand will hold its shape and can be compacted in the sandcastle bucket. Dry sand doesn’t compact so well.
A light rain can help to ready your backfill materials and make compacting easier. You won’t need to use water from the garden hose, and it will save you added effort.
Where backfilling in the rain can go bad is when the rain is heavy. Heavy rain will create a muddy work environment for you, and the soil is harder to compact when overly wet. Think back to the sand analogy. When the sand in your bucket has too much water, it’s the consistency of soup and won’t hold its shape.
If your soil gets too wet, you should wait for it to dry out before compacting. Rain may seem like a good idea to help you compact, but rain can go from light to heavy quickly. Make sure you aren’t in for a storm. If you are, it would be best to wait and wet the soil yourself when the weather is better.
Final Thoughts
The backfilling process doesn’t need to be complicated. It’s a straightforward process, and a little rain could be beneficial for helping the soil settle into the hole. If you aren’t confident about the amount of rain or need the backfill to be strong, wait for better weather. This way, you won’t have to get wet either.